(If you missed the earlier parts of this series, catch up here: Part I, Part II.)
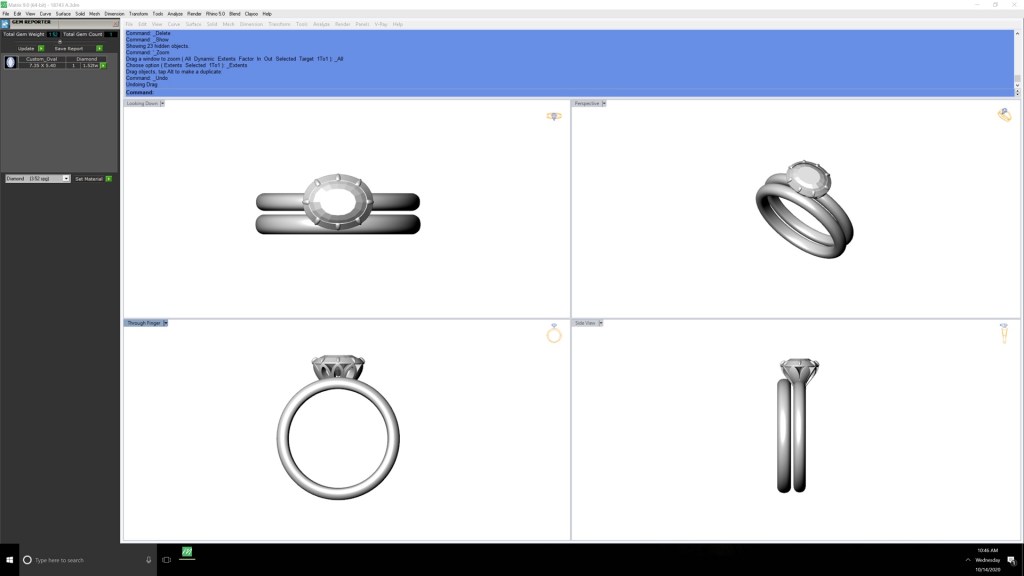
I eagerly awaited the CAD renderings of my new rings. When the email with the drawings from Andre finally arrived, I could not contain my excitement. As I clicked open the files and laid eyes on the images for the first time, my immediate thought was: “Oh no, I don’t love them!”
The bands were too chunky and wholly disproportionate to the width of the diamond. I disliked that both bands were about the same width. The bezel setting was flat and uninteresting. All told, the virtual appearance of the rings did not at all match my vision of them:
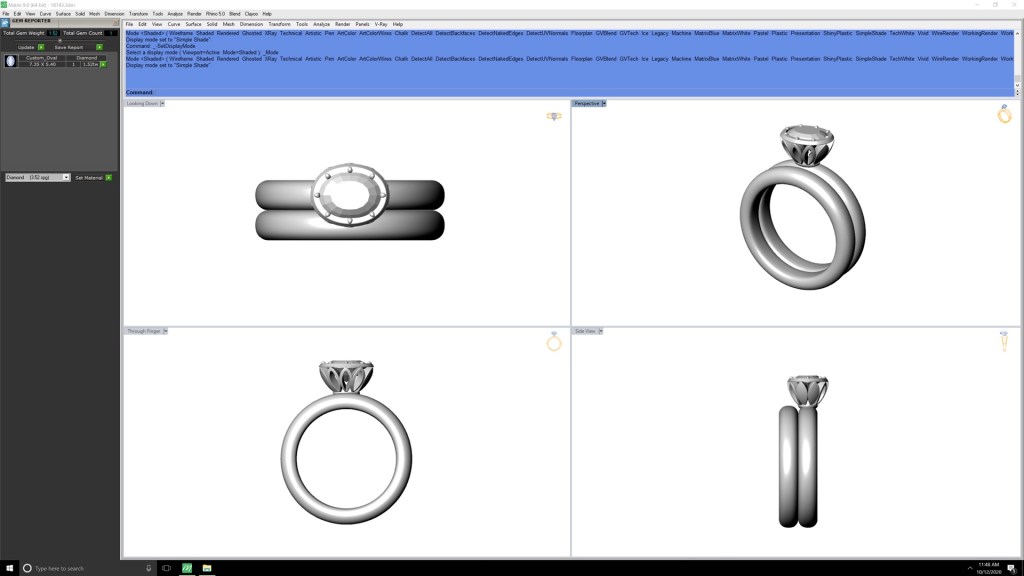
(As an aside, how amazing are these renderings?!)
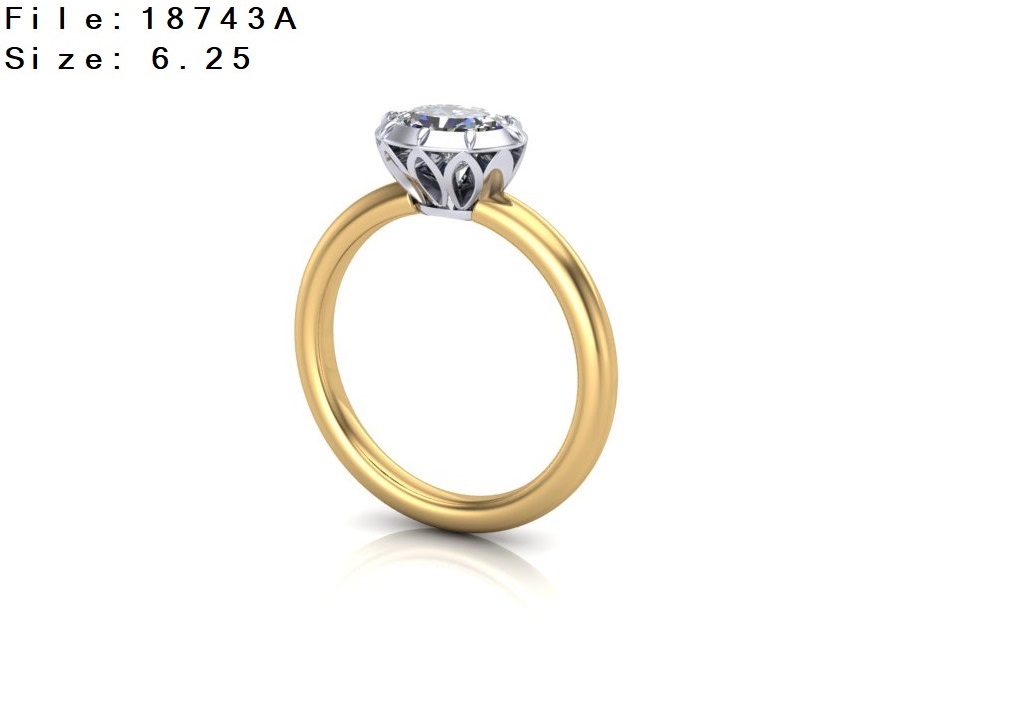
After relaying my concerns to Andre, he called so we could chat over the phone about how to improve things. Both Andre and the CAD drawer independently concluded that the proportions we initially mapped out were way off. Andre made further suggestions about altering where the band met the crown on the engagement ring, and adjusting the bezel setting to have angular instead of flat side walls, which would expose more of the diamond face. I felt relieved and hopeful that the next iteration of renderings would show more promise.
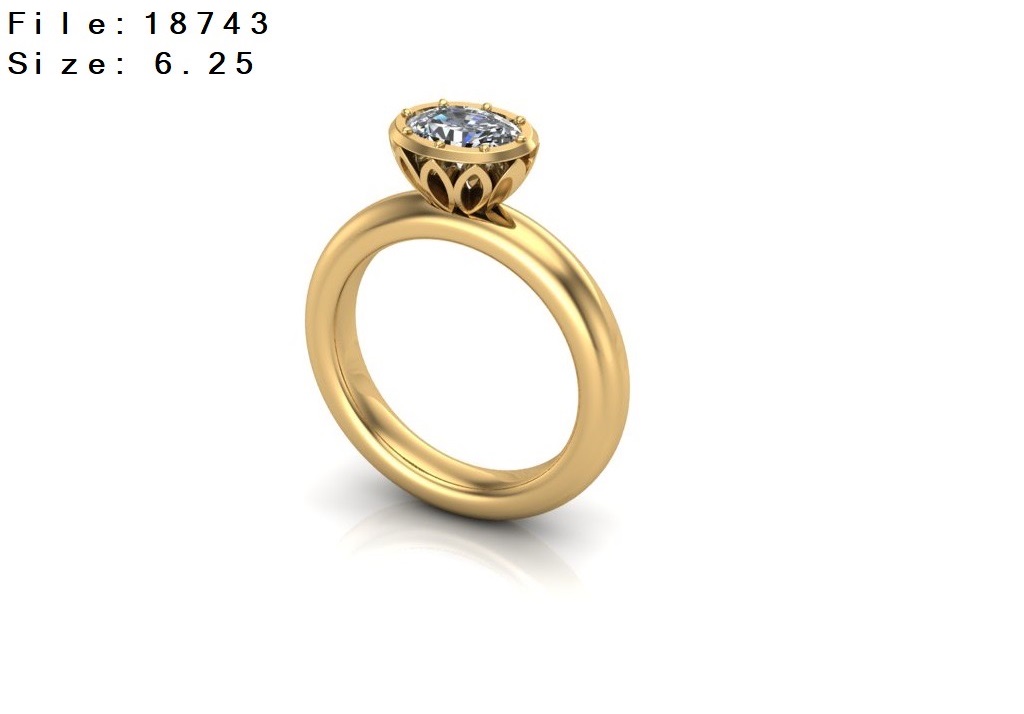
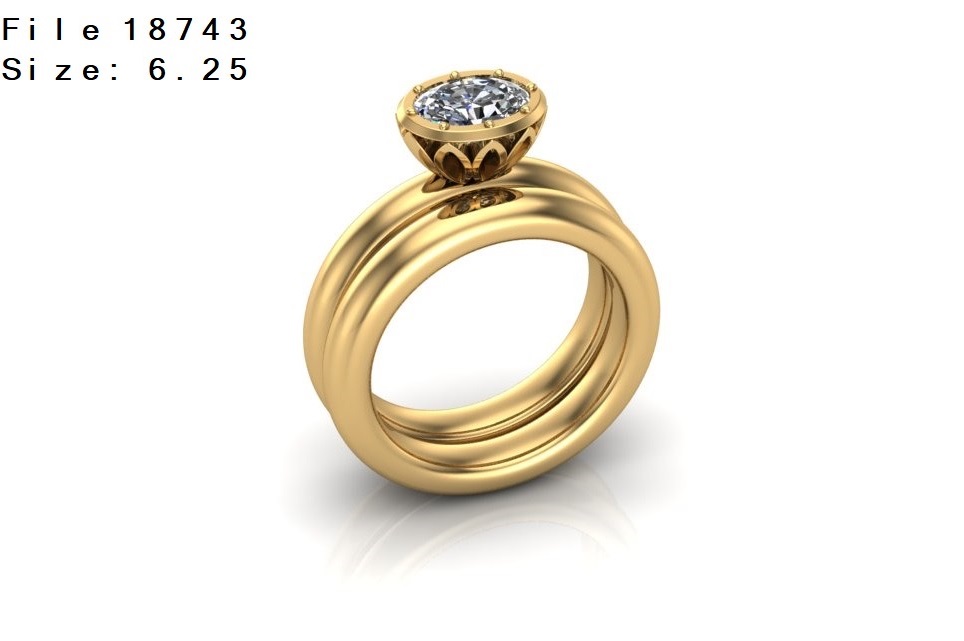
The revised drawings arrived a few days letter, and they were much improved! The rings looked balanced, harmonious with each other and the diamond, and elegant:
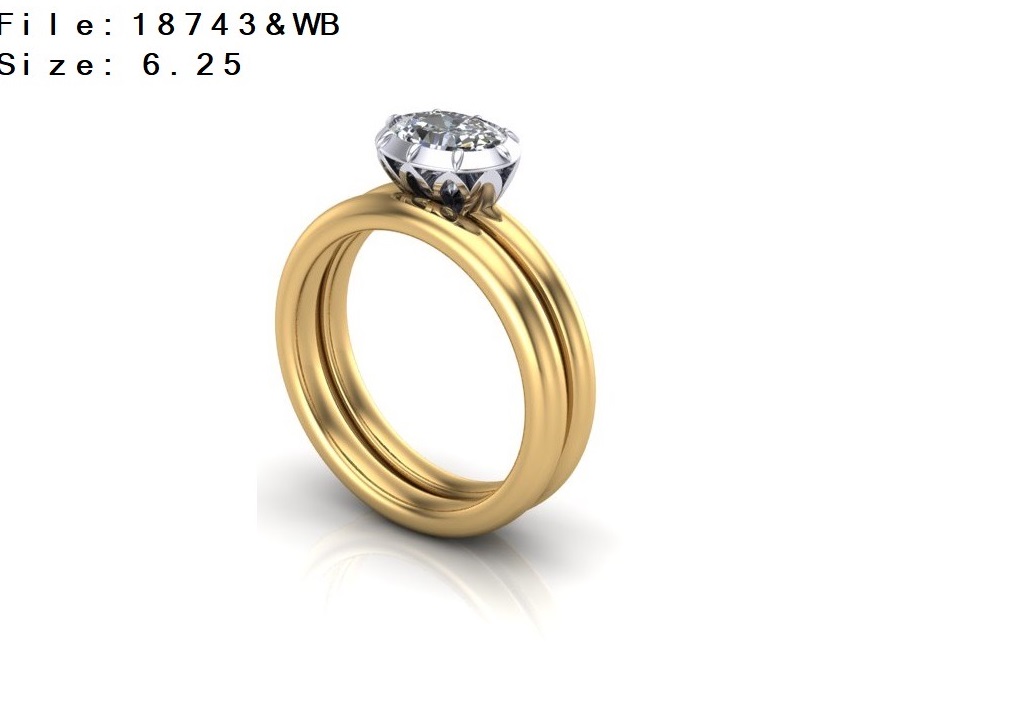
I gave the green light to move forward. Andre explained that the CAD drawings would be used to create wax molds with a 3D printer, and that the molds would then be used for pouring the gold into the shape of the rings. This process–called the “lost wax process“–has been used to make jewelry for thousands of years.
About two weeks later, I received a text from Andre with this image:
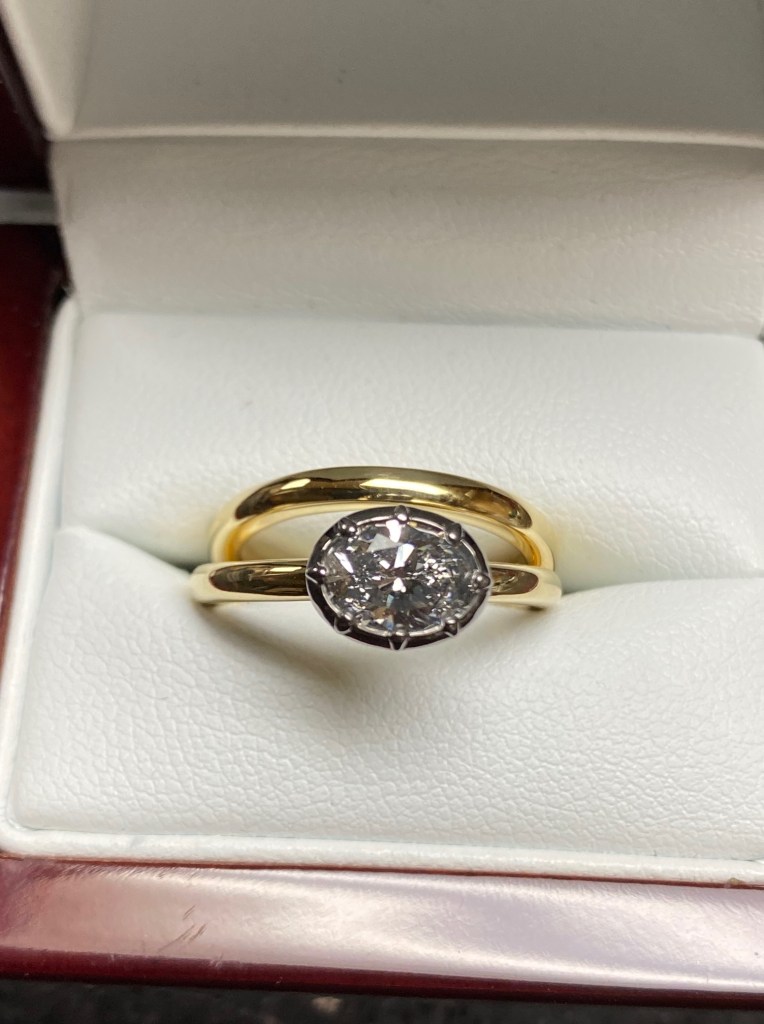
The rings were ready!
I visited Andre’s studio again the morning of Halloween to pick up my new beauties. They were gorgeous in person, and everything I’d hoped and dreamed!
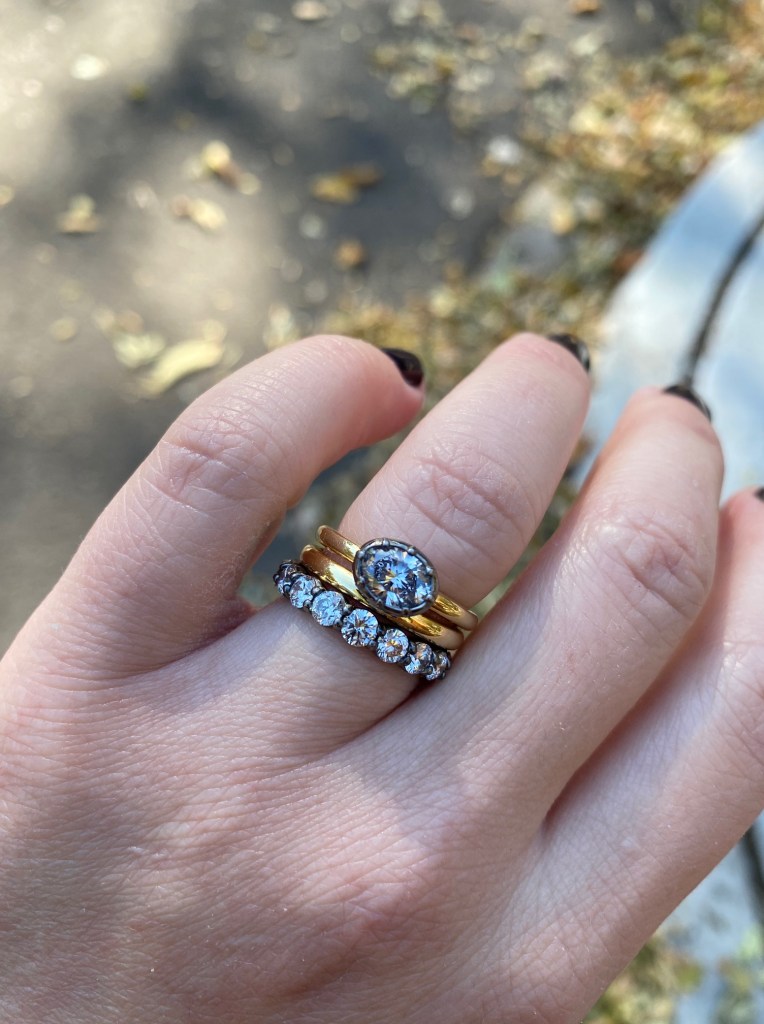
The one thing I hadn’t considered was that my diamond eternity band would look too white and pristine next to the blackened crown of my new engagement ring. I asked Andre if he could blacken the eternity band, too, and much to my delight, he performed the rhodium plating process while I watched! It involved “painting” the platinum of my band with a charged electrode dipped in black rhodium solution. Andre politely humored my 700 or so questions as he worked:


The final stack is absolutely stunning:
I truly cannot say enough positive things about how easy and wonderful it was to work with Andre on this project. He understood my vision, included me at every step of the process, and was able to provide exactly what I wanted at a super reasonable price.
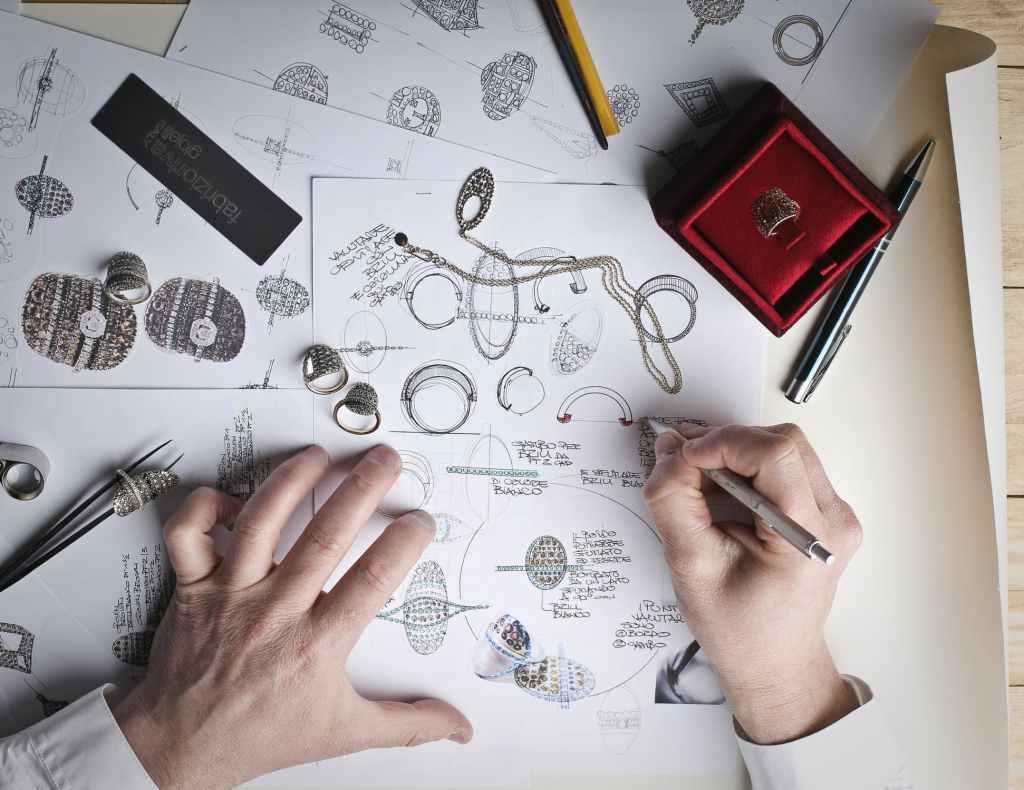
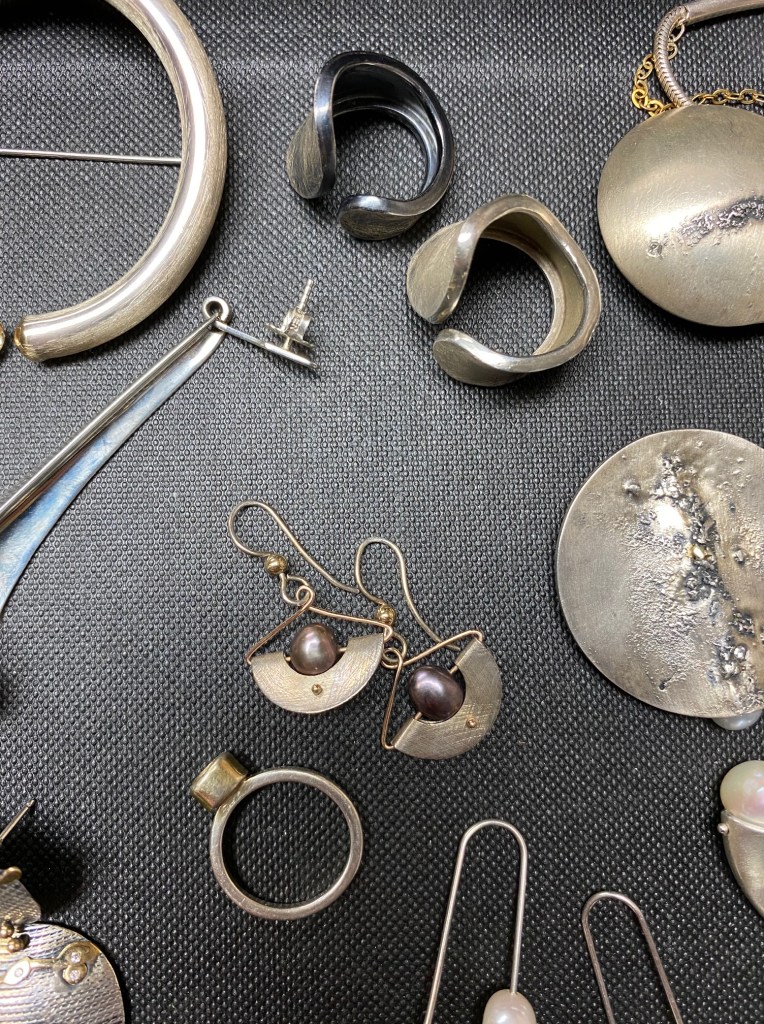
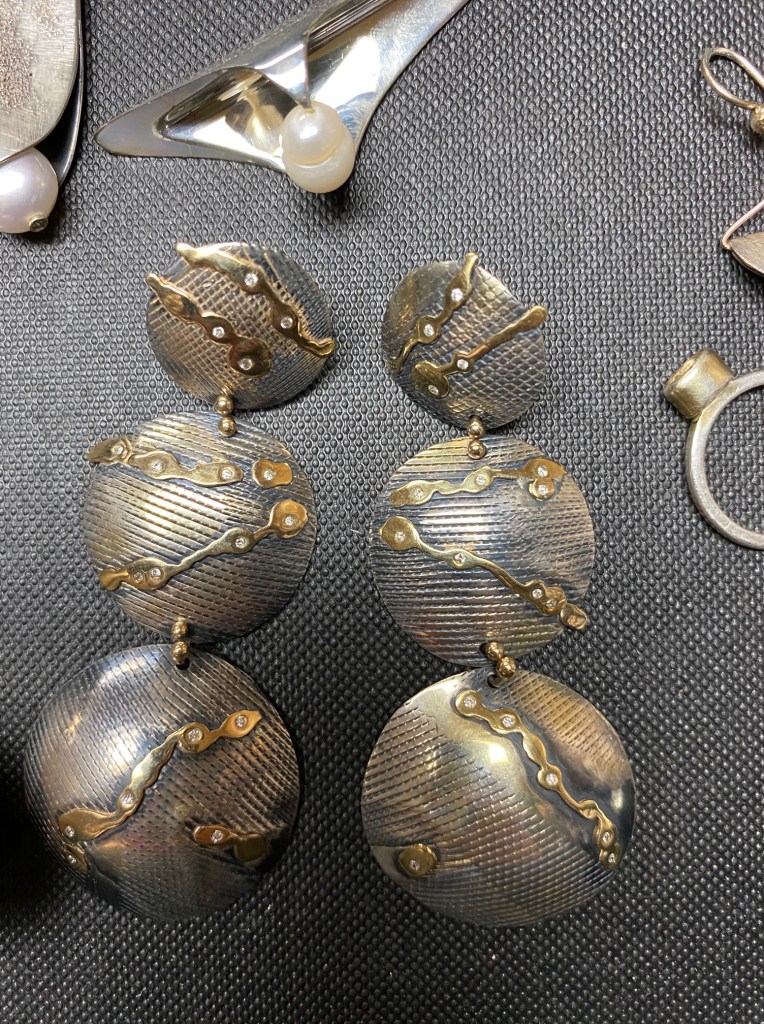
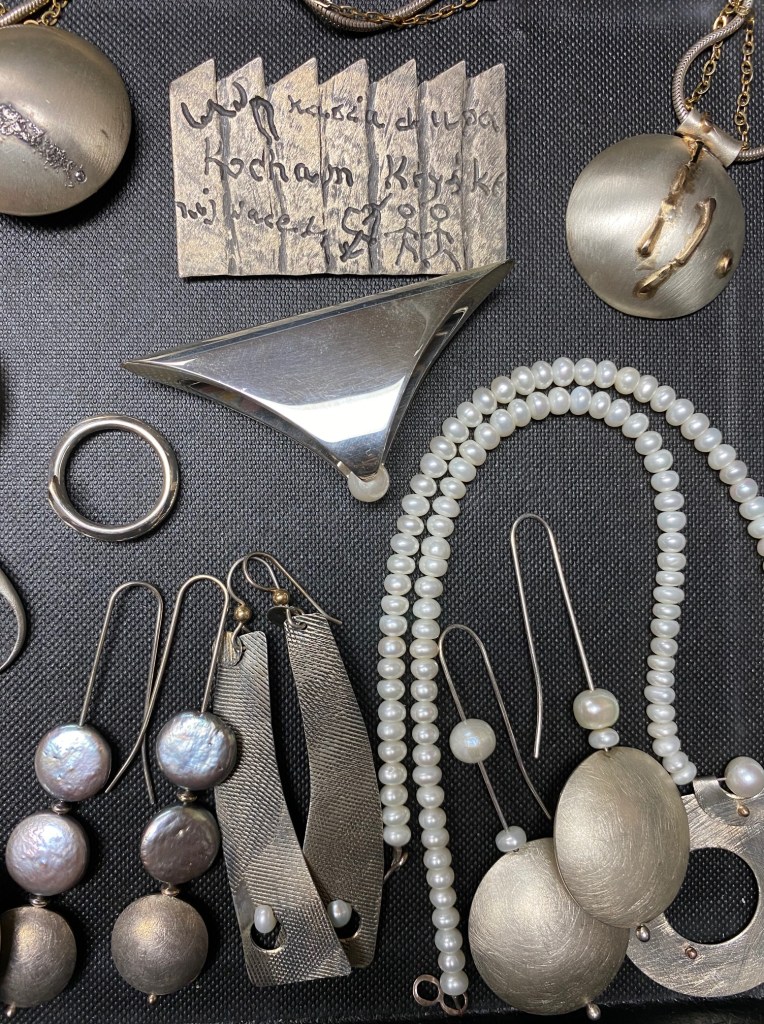
In addition to working with clients to redesign their existing jewelry, he also designs original jewelry. Here are some of his latest beautiful creations:

You can reach Andre directly at andrelukawski@gmail.com.
Thanks for joining me on this exciting journey!